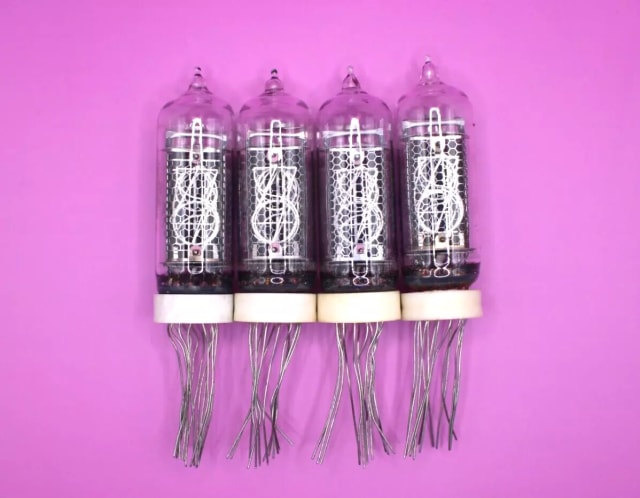


Used Soviet Nixie tubes are an affordable way to build or repair a clock. This guide covers the IN tubes we carry: how they differ, what to check before you buy, how to fit them, and what to do if one looks dim.
Good to know: used tubes can have uneven brightness, and they are not the best fit for replacing one tube in a clock full of new tubes.
The IN tubes at a glance
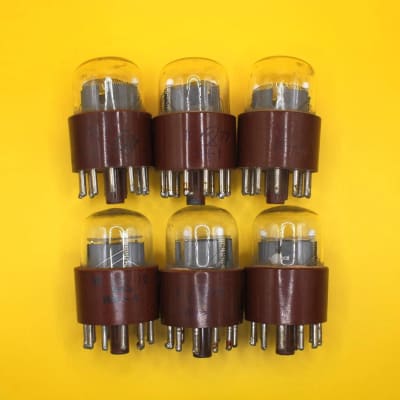
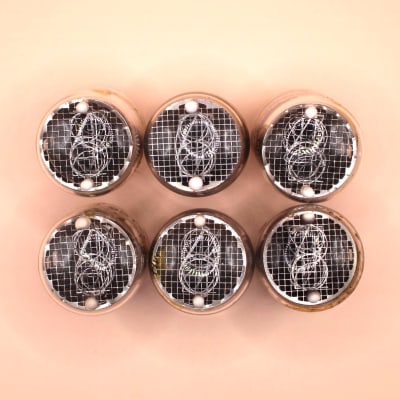
Some tubes show the digit through the rounded top of the glass. Others show it through the side. Some sit in a socket on pins, and others have long wire leads for soldering.
| Tube | Digit height | Digit seen from | Connects with | Decimal point |
|---|---|---|---|---|
| IN-1 | 17 mm | top | pins, socket | none |
| IN-2 | 9 mm | top | pins, socket | none |
| IN-4 | 17 mm | top | pins, socket | none |
| IN-12A | 18 mm | top | pins, socket | none |
| IN-12B | 18 mm | top | pins, socket | comma |
| IN-14 | 18 mm | side | wire leads | two |
| IN-16 | 13 mm | side | wire leads | two |
| IN-17 | 9 mm | top | wire leads | none |
| IN-18 | 40 mm | side | pins, socket | none |



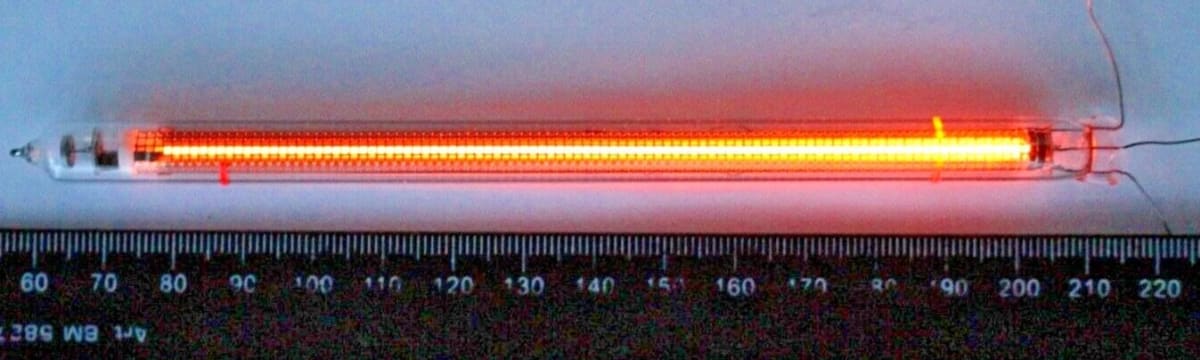
The IN-13 is a different kind of tube: a glowing bar used as a level meter, not a digit tube.
Before you buy
- All digits work. A photo of one lit digit isn’t enough. Ask whether every digit, 0 to 9, was tested, plus the decimal points if you need them.
- Pins and leads look healthy. Look for bent pins, cracks near the glass and old solder.
- Wire leads are long enough. New IN-14s and IN-16s have 35 mm leads. Used ones may have been cut shorter, so make sure they will reach your board.
- IN-12A or IN-12B. Only the IN-12B has the comma. A lot sold as “IN-12A or IN-12B” can contain either.
- IN-4 version. IN-4s were made with one anode or two, and the pin connections differ. Check which one your clock expects.
- Sockets and spacers. Check what’s included and whether it fits your clock.
- Replacing one tube? In a clock with new tubes, use a new (NOS) tube; a used one may not match them. In a clock with used tubes, ask for one with similar brightness.
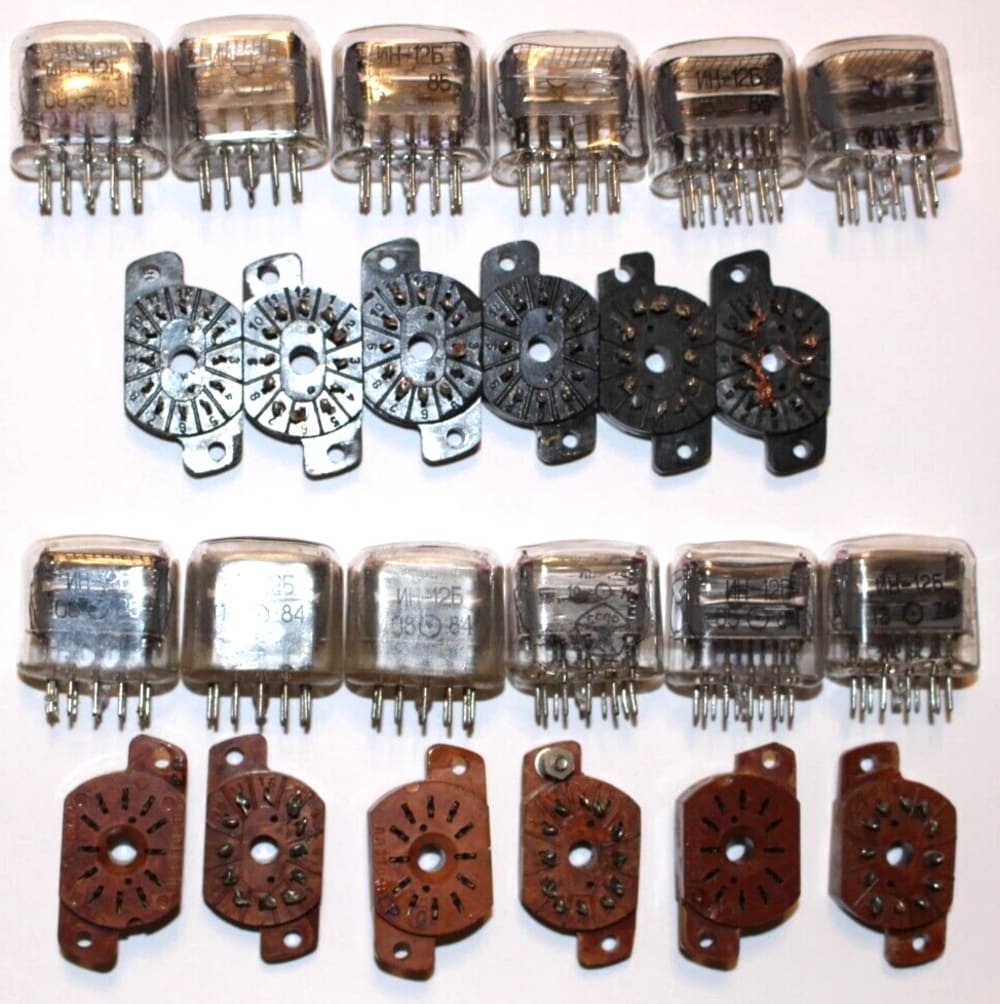
Why a tested tube can look dim in your clock
We test each used tube before it ships. For used IN-18s, our test supply has been 200 V or more. Even so, used tubes can differ in brightness from one tube to the next.
Clocks don’t all drive their tubes the same way. When buyers have told us a tube looked dim, the clock sometimes ran at a lower voltage than our test setup. With less voltage or current, a tube can glow dimmer or unevenly.
Most of these tubes’ factory sheets ask for a supply of at least 200 V (the IN-16’s sheet says 190 V). The current per digit depends on the tube: the IN-18, for example, needs 4–7 mA.
If your tubes look dim:
- Compare them at the same brightness setting. Night and dimming modes make tubes look darker.
- Check your clock’s high-voltage setting against the tube’s factory sheet.
- Don’t just turn the voltage up. Check the clock’s manual first. Its parts and current limiting have limits too.
Fitting the tubes
Safety first: unplug the clock and let its high-voltage capacitors discharge before you touch the tubes.
Tubes on pins: IN-1, IN-2, IN-4, IN-12, IN-18
- Line the pins up with the socket before you push. Don’t use the socket to straighten a bent pin.
- Turn the socket so the digits stand upright. The IN-1 and IN-2 factory sheets show which way it should face.
- IN-12: The type is printed on the glass, so you can tell an IN-12A from an IN-12B. Some used IN-12s have old solder on the pins; they should still go into the socket without force. If you solder straight to the pins, stay at least 4 mm away from the glass.
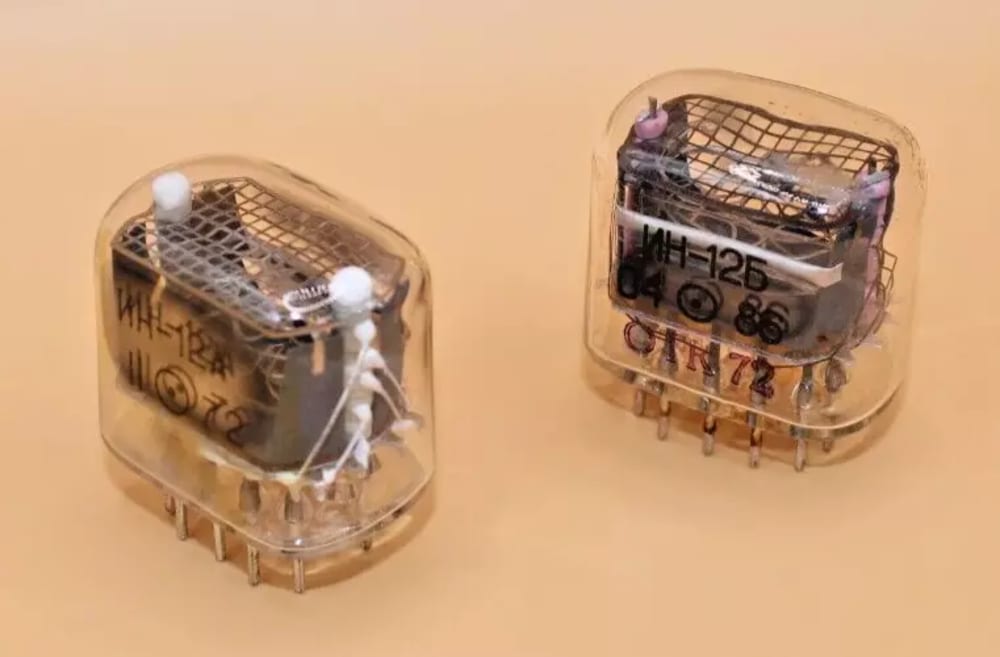
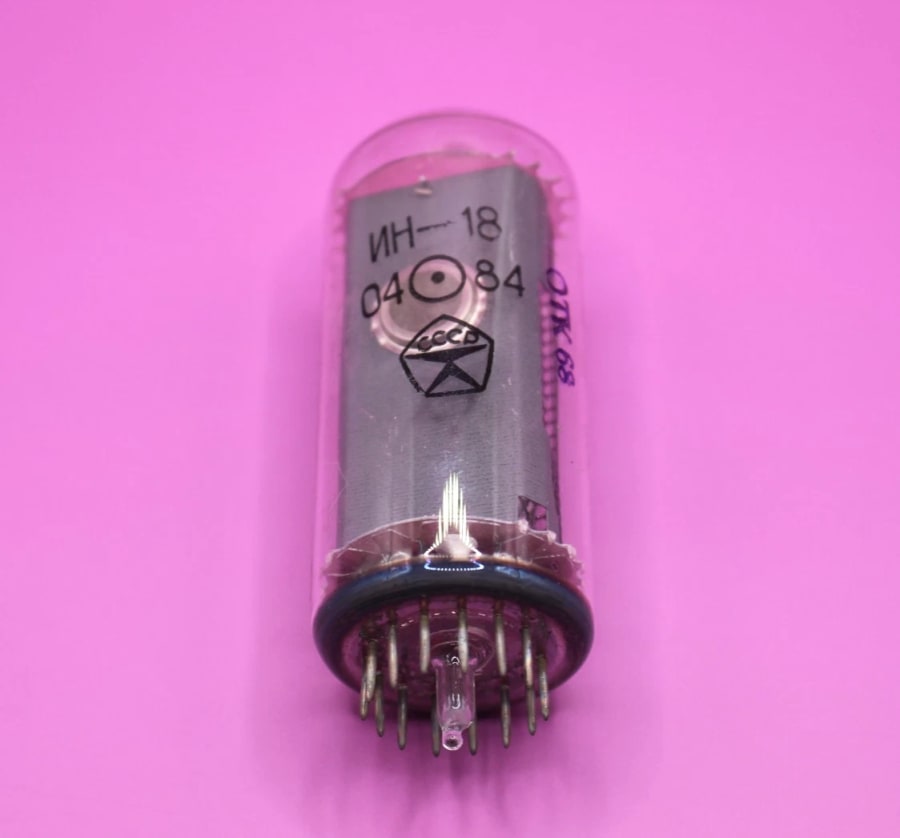
- IN-18: The base has a small glass tip in the middle, so make sure your socket or board leaves room for it.
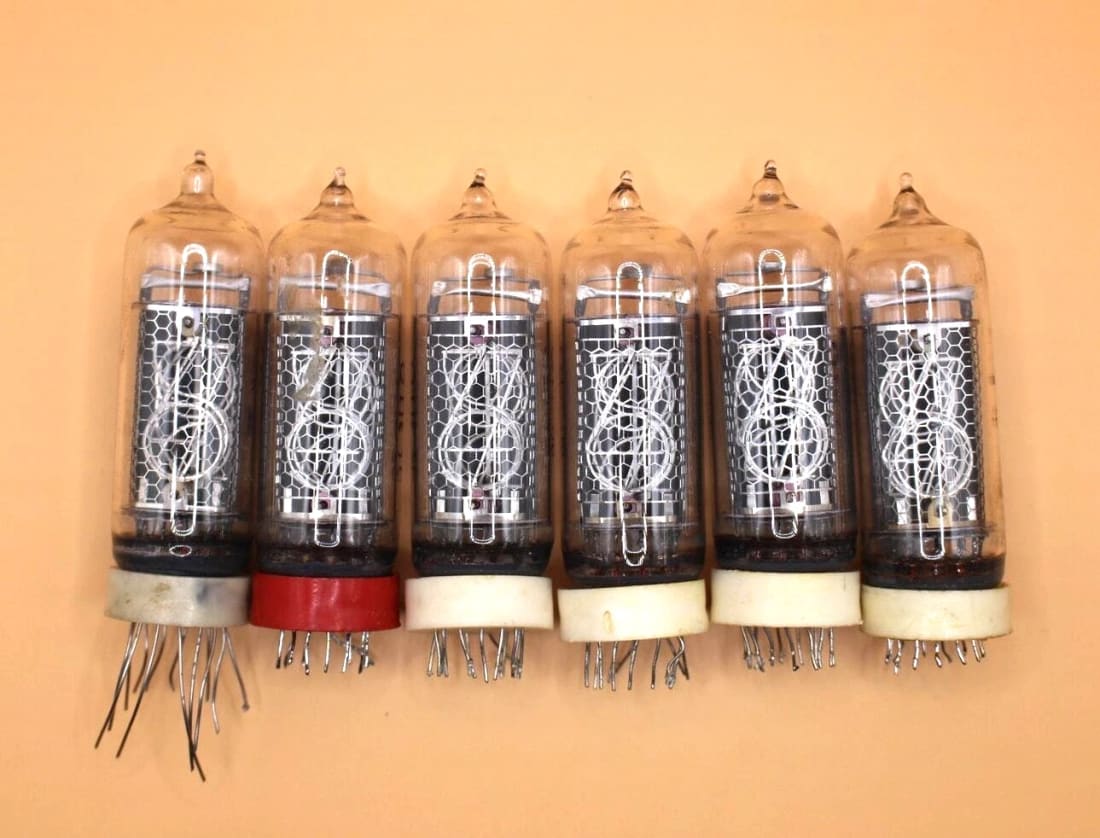
Tubes with wire leads: IN-14, IN-16, IN-17
- Set the height and line the tube up first. Trim and solder the leads after that.
- IN-17: The leads are numbered from one deliberately shorter lead. If all the leads on a used IN-17 have been trimmed to the same length, check the orientation carefully before soldering.
After fitting
Run through 0–9 on every tube, at normal brightness and at your night setting.
The IN-1 and IN-2 factory sheets recommend switching between digits regularly. If your clock has a mode that cycles through all the digits, use it.
If a digit looks wrong and your clock has sockets, swap two tubes of the same type:
- The problem moves with the tube: it’s the tube or its pins.
- The problem stays in the same spot: it’s the socket or the clock.
Still not right?
Send us the tube and clock model, a photo or short video, and your brightness setting. If you know the supply voltage or tube current, add that too.
Our test shows a tube worked in our setup. It can’t promise identical brightness in every clock, but a digit that won’t light fully is worth telling us about.
References
Factory sheets and handbook pages for each tube: IN-1, IN-2, IN-4, IN-12A, IN-12B, IN-13, IN-14, IN-16, IN-17 and IN-18.